@bufferingbetty
Hair so cute. Air so Breezy. Vibes so Spring.

Put a little Spring in your hair by adding
bouncy curls to your locks all season long.
It's time to pack away all of your Winter hats so that your hair can breathe in fresh looks. I'll tell you how I created these four easy Spring hairstyles. Read to the end of this post for a review of the Spinstyle Pro rotating curling iron from Salon Tech.
Lazy Blow Out
This one is for all my frizzy-haired-beauties trying to thrive in the humid seasons. It's my saving grace for when I haven't spent time prepping my hair. Or, I've spent too much time on my makeup and left myself only 5 minutes for hair. The heat from the curling iron smooths the frizz while giving my hair some shape and body so I don't look like Rubeus Hagrid. After tying my hair into a high ponytail, working from left to right, I grabbed a section of hair to begin curling it. I made sure that the sections weren't too thin because it would have made the curls too defined giving a completely different look. Once all of the section of my ponytail had been curled, I let down my hair and delicately ran the tips of my fingers through my hair to break up the curls.

Video Tutorial Here
As a final touch, I sometimes like to smooth some of the frizziness framing my face. I sprayed a soft touch hairspray on to a comb. Instead of pushing the teeth through my hair, I flipped the comb to face the teeth upward so they would glide down my hair shaft. For some added va-va-volume, you can use dry shampoo or any texture powder to the roots of your hair.
Essential Tool: Hair Bungee
If you were to use a regular hair tie, you run the risk of ruining the curls you just spent time creating. The hair bungee is better because it just wraps around the base of your ponytail without having to slide down your hair shaft.
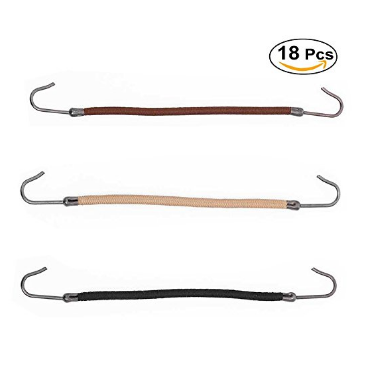
BinaryABC Ponytail Hooks Holder Bungee Bands
Amped Up Waves
To get these mod-70s frizzy waves, I began by dividing my hair in two. I pinned up the left side and curled the right in rows working from the nape of my neck to my hairline. Each row consisted of 3-4 curls depending on my hair density in each row. For more volume, I alternated the direction of the curls by row. That’s to say that if the row by my neck was curled to the right, that I would then curl the next row going to the left. That was easy with the Spinstyle Pro because it automatically curls in both directions.

Video Tutorial Here
To allow the curl to set properly, after curling each individual section, I rolled the curl in on itself by following the curl shape while my hair was still warm. I pinned each warm, rolled curl to my head then covered my hair with a hefty amount of hair spray and let them set for about 15 minutes, After I removed the pins, I gently brushed through my hair to begin styling it. I also teased the roots and some of the waves for volume.Adding funky pins to each wave dip can be a really cute way to make this look feel more fashionable.
Essential Tool: Soft Touch, Lasting Hold Hair Spray
My hair tends to not hold styling very well. Still, I never use a strong hold hairspray because crunchy hair is gross. For my hair to have that fluffy, wavey look, a light hairspray is best. My hair won’t fall flat under the weight of the spray. Plus, you can still run your fingers through my hair -but *sings* ‘don’t touch my hair.’
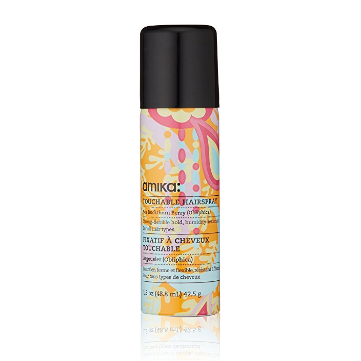
Amika Touchable Hair Spray
Top Knot
Yup. They’re still in and aren’t leaving any time soon. I first sectioned off the part of my hair that I wanted in the top knot. I have thin hair on top of my head. So my bun isn’t a little bun-lette or oddly wide, I section off hair starting from my hairline to a little past my crown. Then I curled my hair with the same alternating pattern as I did with the frizzy waves. To keep most of the bounce towards the ends of my hair, I curled the ends slightly tighter than I did the rest of the hair shaft. To do this, just wrap your hair more tightly around the curling iron on the ends, about 4 times. Then more loosely as you get towards the middle of your hair shaft. It adds body without giving a tight curl. This added wide dimension towards the ends. Exactly what I wanted! This made the whole look more interesting rather than just the knot atop of my head.

For the top knot itself, once I tied off the ponytail. I sectioned the hair in two, vertically. The right section of my hair was curled to the right. And the left side went left. Rather than just gathering up all the hair into a cute messy bun or a classic sock bun, I wanted the bun to look more styled. I warped the right curl going to the right side beginning behind the base of the ponytail unraveling the curl with each loop around my head without incorporating the left curl at all. After the right curl was pinned in place, I grabbed the left curl and wrapped it going to the left beginning behind the base of the ponytail while unraveling the curl. This created a neat, swirling bun with dimension and volume.
Essential Tool: Decor
The last touch was my chic diy hair pin. I placed it in a way that it felt like it was peeking out from one of the swirls in the bun. The reflective gold pin was exactly what this look needed.
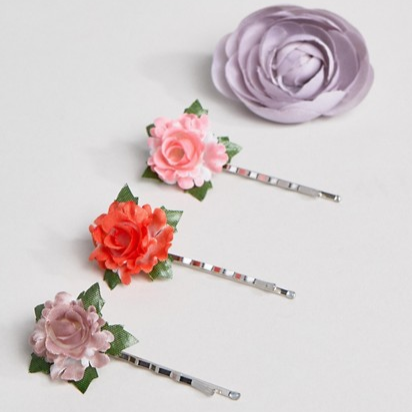
ASOS Pack of 4 Mixed Floral Hair Clips
Deep Side Part + Curls
Edgy. Girly, Attention getting. Check, check, check; sign me up! The most time consuming look but totally worth it. The key to this look is how you section your hair. I began by giving myself a deep side part. So that the hair behind my part could give volume to my crown, I sectioned off the hair framing my face to curl later and pinned the two section of my part. I began curling my hair behind the part working from the back of my head up to the crown. I sprayed each section of my hair with a soft touch hairspray before I curled it. I sectioned my in small parts and tightly wrapped my hair around the barrel of the curling iron as many times as I could. This would make my curls very tight and thin.

The smaller section of my part was going to be slicked back above my ear and have cute pins so the curls did not need to be as tight as the rest of them. I curled that hair in the same way that I curled my hair in the top knot: tight on the ends and looser as you went up the shaft. For the hair on the other side of my part, I began by sectioning the hair into much smaller, vertical sections working from my ear to the parting line. This gave me more control of how the curls would frame my face. As the sections got closer to the parting line, the more lax I was with the hair closest to the roots. If the roots of the curls in the center my face on my hairline were as tight as the rest of them, I would have had hair falling in my face all. damn. day. Annoying!

Goody Folding Brush & Comb
Essential Tool: Teasing and Sectioning Comb
This hair goes from child star, Shirley Temple, curls to, Broad City star, Ilana Wexler, doesn’t go to prom because of the aggressive amounts of teasing. A dual ended brush + comb is your bow and arrow in the Quarter Quell. You don’t want to waste time looking for this or that brush.

Once all of my hair was curled, I had a snack because I needed to recharge after all of the curling. I'm so glad the Spinstyle Pro does most of the curling for you otherwise this blog post would be ‘1 Easy Spring Hairstyle.’ Then I ran my fingers through all of the tightly wound curls to break them up. I also individually separated some of the curls to make sure there weren’t any super clumpy ones. I wanted VO-L-UME in my hair so I then teased my crown and fluffed all of the curls to max capacity without destroy in the shape. Finally I add some more diy pins to my hair and felt oh-so-divine!

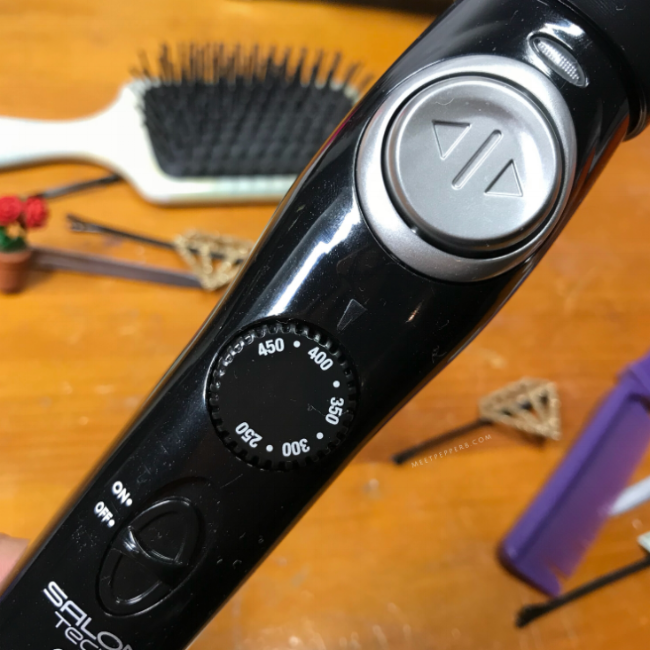
Spinstyle Pro Review
My hair is so frizzy that it could take me 10 minutes to locate a bobby pin I might've used in an attempt to tame the mane. Because of the frizz factor, just the idea of testing a rotating curling iron in my hair gave me heart palpitations. What if it snapped my hair? What if it got stuck? Would I then be forced to get a pixie cut? I don't have the head for hair that short!
Related: Smooth n' Shine Hair Polisher Review
The Real Question is: Am I Bald Now?
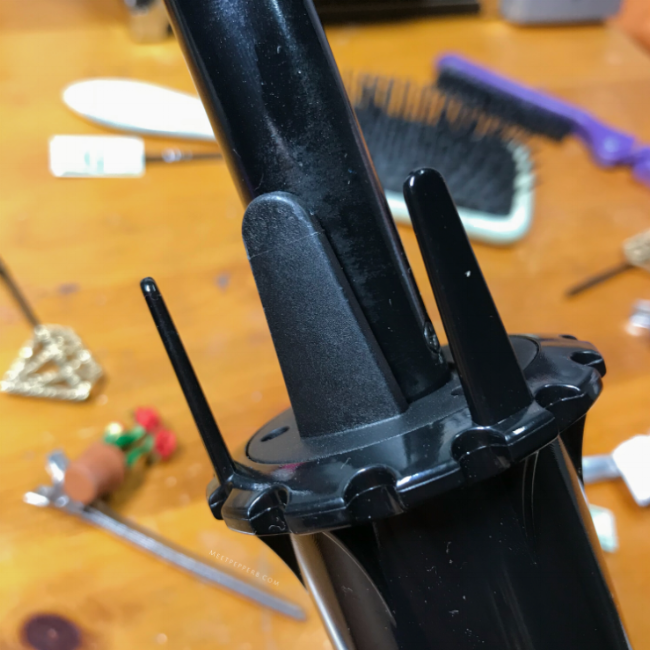
The obvious pro to the Spinstyle Pro is the rotating barrel. Just slide your hair through the prongs that guide your hair on to curly, swirly, precious-ness. The fact that it spins in both directions amazes me. The temperature settings are easy to see and the on-off-switch isn’t hidden or placed where you might accidentally turn it off mid-curl.
One con that I immediately noted was that the barrel is kind of short. I felt like I didn’t have enough play space on the barrel to get what I needed.
I don’t believe that the Spinstyle Pro is beginner friendly. I could see, for example, a parent buying this for their child thinking that this could help teach their young one to learn to curl their hair. The kid is going to have curls but the hardest part in learning to do your hair is learning to style your hair. Because of the shape of the barrel and the prongs that guide the hair onto it, what you get with each curl is just a barrel curl. However loose or tight it’s a barrel curl. You can do a million different things with barrel curls but if you’re new to doing your hair, that can be hard to figure out. Barrel curls are also kind of dated so if you don’t know how to manipulated the curls to get what you want, your look might also turn out kind of dated. This may not necessarily be a downside but it will take more practice then I think people will initially realize.
That being said, I still think that the Spinstyle Pro is a nifty hair gadget. If you know your hair and you know how to style it, this rotating curling iron make doing your hair go faster and easier.


